

How to Record Studio-Quality Guided Meditations (From Your Home or Office)
You’ve got the scripts. You’ve got the soothing voice. You’ve got the clients who are desperate for you to send them a recording to use between sessions.
But every time you sit down to record, you get stuck. Maybe you’re intimidated by the software, or maybe you tried it once and it sounded... well, like you were recording inside a tin can.
The good news? You don’t need a fancy studio or a degree in audio engineering to create professional-grade assets for your business. In fact, some of the best tracks on Insight Timer were recorded in spare rooms and home offices.
Here is the step-by-step guide to building your own "Audio Toolkit" setup, without breaking the bank.
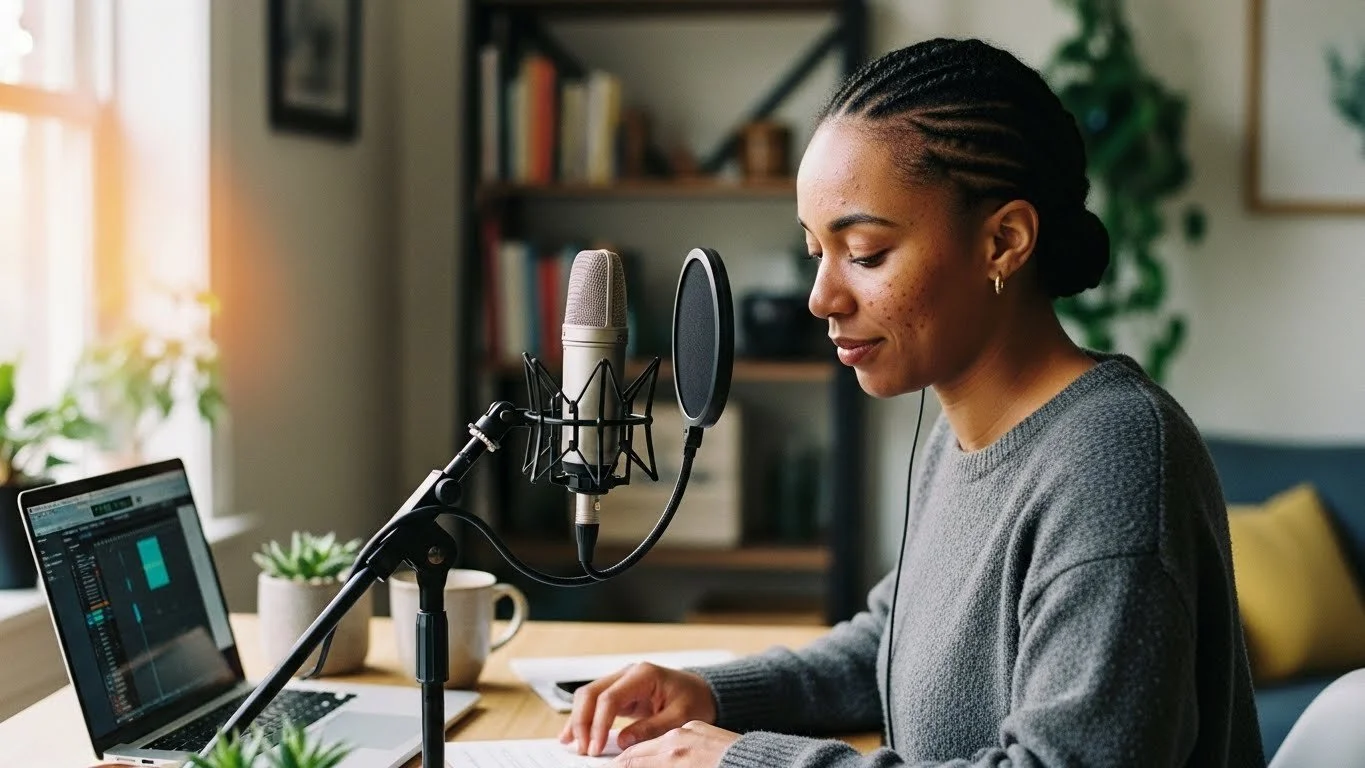
Step 1: The "Pillow Fort" (Treating Your Room)
Before you even touch a microphone, you need to fix your room.
The biggest enemy of a professional recording isn't a cheap microphone; it’s Reverb. That’s the sound of your voice bouncing off hard walls, windows, and desks. It makes you look amateur and creates distance between you and the listener.
You need a "dead" room. Professional studios use expensive foam, but you can use:
The Wardrobe Method: Open your closet doors and speak into your clothes. The fabric absorbs the sound waves perfectly.
The Pillow Fort: Build a semi-circle of cushions around your microphone.
Duvets: Heavy blankets hung over windows work wonders.
Pro Audio Concept: "Signal-to-Noise Ratio"
We want more of you (Signal) and less of the room (Noise). The closer you get to the mic, and the more soft stuff you have around you, the more intimate and commanding your voice will sound.
Step 2: The Gear (Keep It Simple)
You do not need a $1,000 Neumann microphone. In fact, expensive condenser mics are often worse for home use because they are so sensitive they pick up cars driving by three streets away.
Stick to a high-quality USB Microphone. These plug straight into your laptop—no audio interface or confusing cables required.
Our Top Recommendations:
Rode NT-USB: Slightly warmer tone, great for deep hypnosis voices.
Audio-Technica ATR2100x: A dynamic mic that rejects background noise (great if you have noisy neighbours).
Vital Accessory: Buy a "Pop Filter." It’s that mesh screen that sits in front of the mic. It stops "plosives" (the blast of air from ‘P’ and ‘B’ sounds) from distorting the recording.
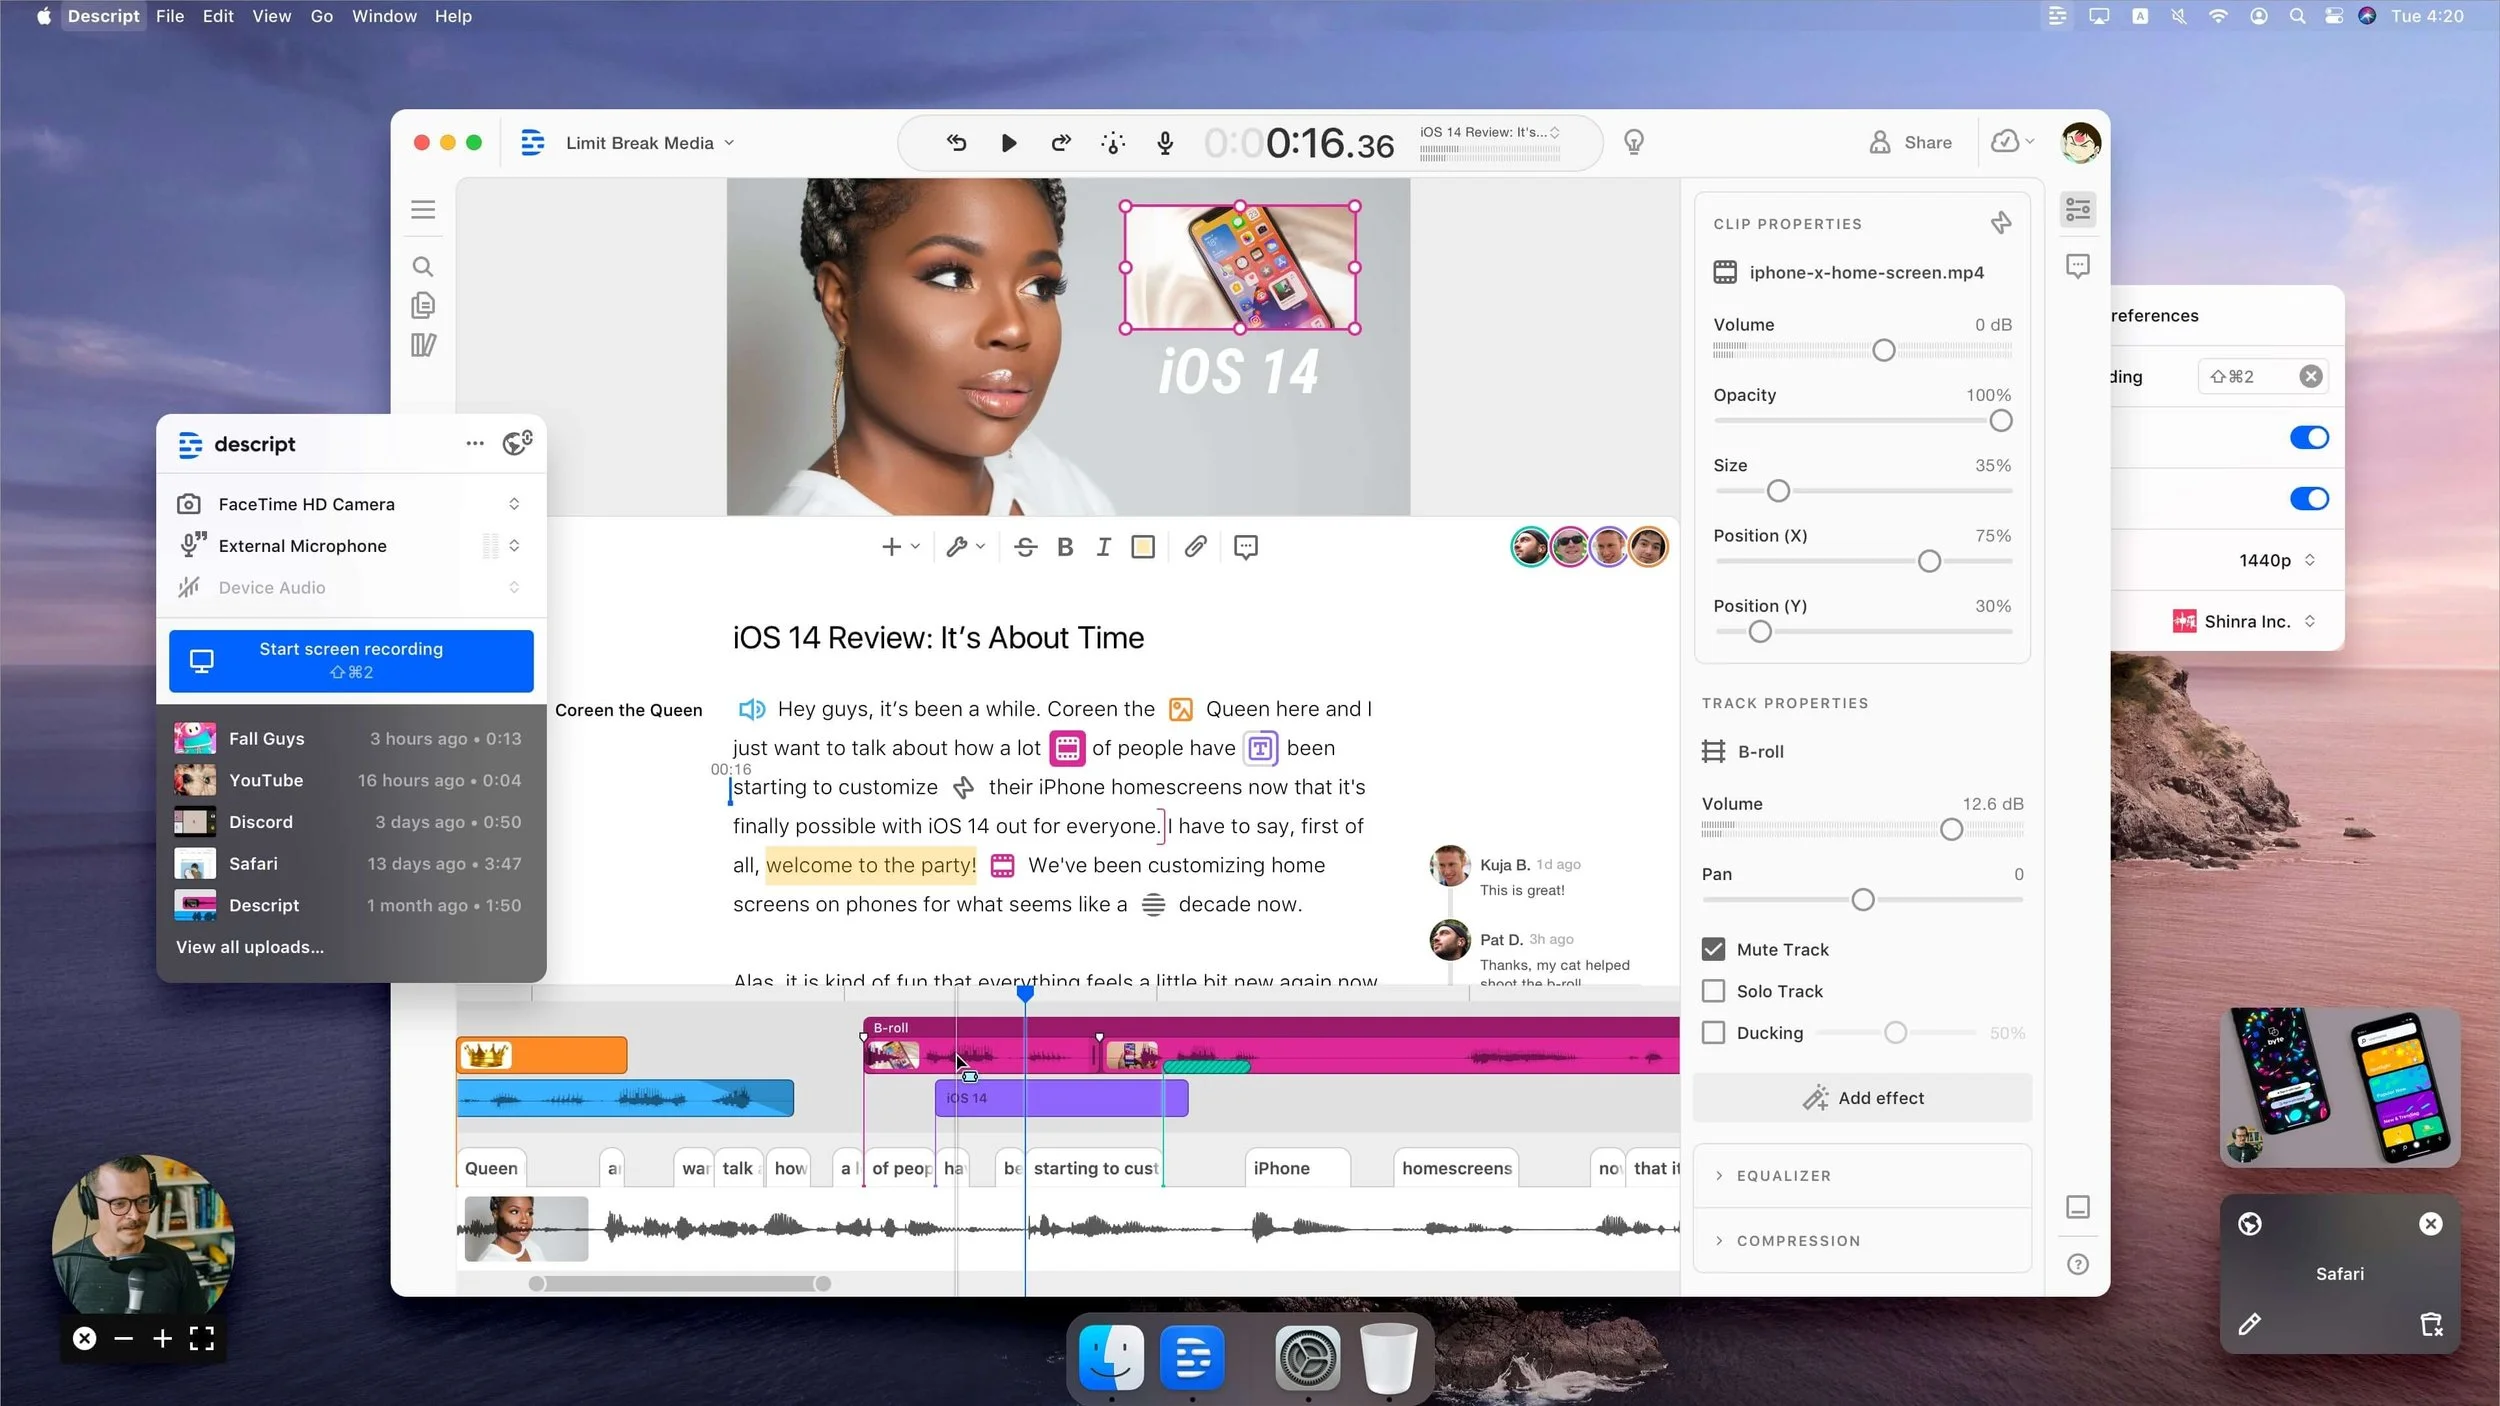
Descript is a game changer for audio and video recording. Simply edit text to cut out the fluff.
Step 3: The Software (DAW)
You need a Digital Audio Workstation (DAW) to capture your voice. Don't let the name scare you—there are some very user-friendly options now.
Descript (Highly Recommended): This is a game-changer. It transcribes your voice as you speak, and lets you edit the audio by deleting the text. If you can edit a Word document, you can edit audio in Descript.
Audacity (Mac/PC): Free, ugly, but powerful. It does everything you need.
GarageBand (Mac): Free and very intuitive if you're on a Mac.
Just hit the red button, leave 5 seconds of silence (to catch the "room tone"), and start speaking. Don't worry about mistakes—just clap your hands (to make a visual spike on the waveform) and say the line again. You can cut the bad take out later.
Step 4: The Hard Part (Mixing Voice with Music)
This is where 90% of practitioners get stuck.
You’ve recorded your voice. You’ve dragged in a music track. But when you play them together, it sounds... muddy. Your voice gets lost in the music, or the music is too loud, or it just feels "cluttered."
This happens due to Frequency Masking.
The human voice sits in the "Midrange" frequencies (roughly 500Hz to 4kHz). Unfortunately, most music also puts its main instruments (pianos, synths, strings) in that exact same frequency range.
When you play them together, the music fights your voice for space.
The Old Solution (The Hard Way):
Audio engineers use tools like "Parametric EQ" to carve a hole in the music frequencies, and "Sidechain Compression" (Ducking) to automatically lower the music volume every time you speak. It takes time to learn and it's easy to mess up.
The New Solution (The Melobleep Way):
We realised that healers shouldn't have to be engineers. That’s why every Melobleep Audio Toolkit comes with "Voice-Ready" versions of every track.
We have already done the engineering for you:
EQ Scoop: We’ve surgically removed the conflicting midrange frequencies from the music, leaving a perfect "pocket" for your voice to sit in.
Headroom: We’ve lowered the volume to the industry standard for background beds, so you don't clip your master channel.
You simply drag the Voice-Ready MP3 into Descript or Audacity, drag your voice on top, and it sounds mixed instantly. No plugins, no headaches.
But if you’re not interested in learning full‑blown audio engineering, the realistic path is to use music that’s already mixed for voice work. Then you can follow a clear, repeatable process of layering music under a guided meditation without drowning out your voice so you’re adjusting a couple of simple dials instead of fighting with EQ and compressors from scratch.
Mixing voice and music is the hardest part. Get our Voice-Ready 30-minute track (included in the free Sound Guide) to see how it's done.
Step 5: Exporting for the World
Once you are happy with the balance, export your file as an MP3.
Bitrate: 192kbps or 320kbps is standard.
Tags: Make sure to tag your file with your name so clients know who it is.
Now you have a professional asset you can sell as a course, upload to Insight Timer, or give to clients to deepen their work between sessions.